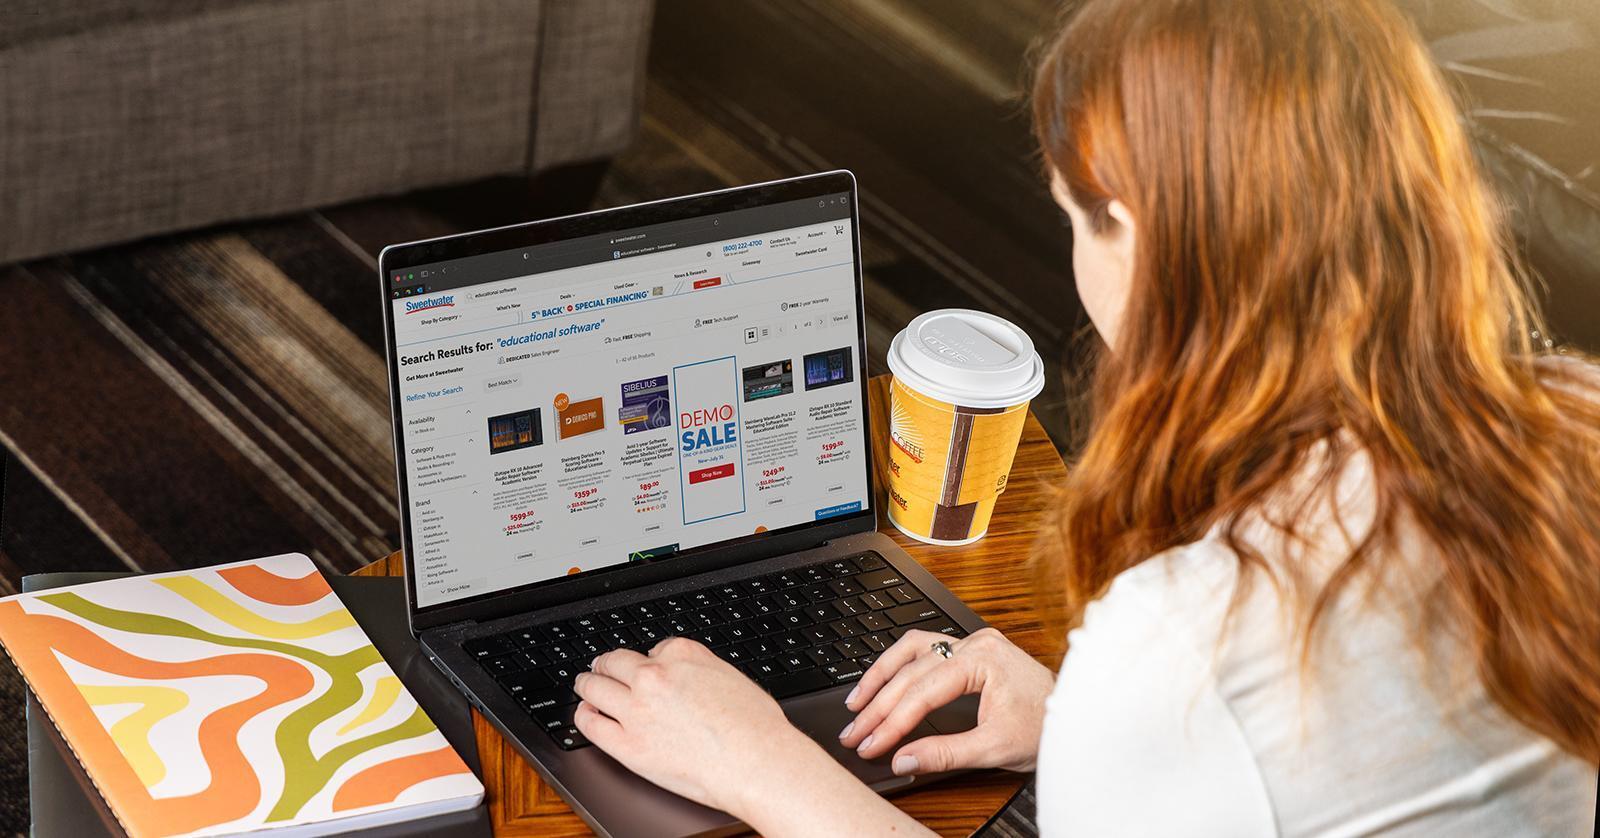

Connecting Namecheap Email with Gmail can improve your email experience. It’s simple and helps you manage all your emails in one place.
Many people use Namecheap for their domain and email services. But they prefer the user-friendly interface of Gmail. By linking your Namecheap email with Gmail, you can enjoy the best of both worlds. This setup lets you access, send, and organize all your emails through Gmail.
It’s convenient and efficient. In this guide, we’ll walk you through the steps to integrate Namecheap email with Gmail. Get ready to streamline your email management and make your life a bit easier.
Introduction To Namecheap Email And Gmail
In today’s digital era, managing multiple email accounts can be a hassle. Integrating Namecheap Email with Gmail simplifies email management by combining the strengths of both platforms. This guide will help you seamlessly merge Namecheap Email and Gmail for a streamlined email experience.
Benefits Of Integration
Integrating Namecheap Email with Gmail offers several advantages:
- Centralized Inbox: Access all your emails in one place.
- Enhanced Security: Benefit from Gmail’s advanced spam filters.
- Ease of Use: Gmail’s user-friendly interface simplifies email management.
- Mobile Access: Use the Gmail app to access Namecheap emails on the go.
Prerequisites
Before you start, make sure you have the following:
- A valid Namecheap Email account.
- An active Gmail account.
- Access to your Namecheap Email settings.
- Basic knowledge of email configuration.
Refer to the table below for quick reference:
| Prerequisite | Description |
|---|---|
| Namecheap Email account | Your email account provided by Namecheap. |
| Gmail account | Your email account provided by Google. |
| Access to settings | Login credentials for both email accounts. |
| Email configuration | Basic understanding of email setup processes. |
With these prerequisites in place, you are ready to integrate Namecheap Email with Gmail.
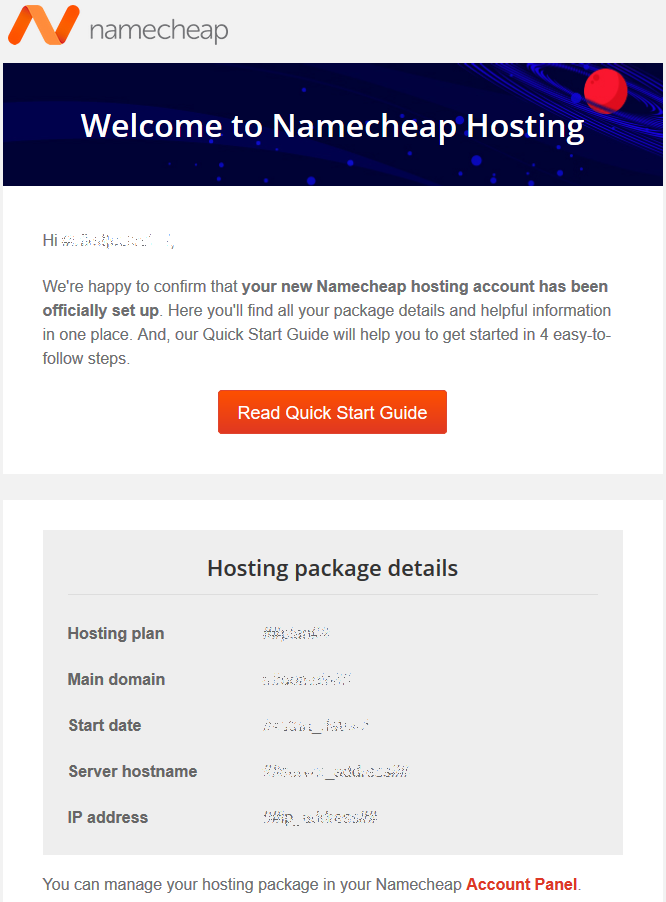
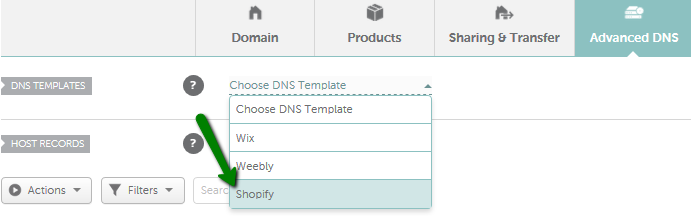
Credit: www.namecheap.com
Setting Up Namecheap Email
Setting up your Namecheap email with Gmail is a straightforward process. This integration allows you to manage all your emails in one place, making it easier to stay organized. Follow these steps to get started.
Creating An Email Account
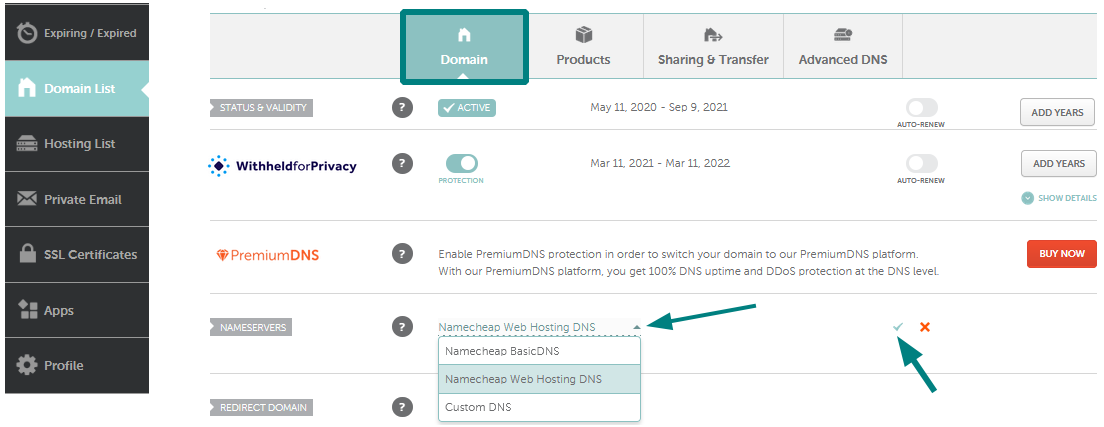
First, log in to your Namecheap account. Go to the “Domain List” section and find your domain. Click on the “Manage” button next to it. Select “Email” from the left-hand menu. Click on the “Create Email Account” button.
Enter the desired email address and choose a strong password. Click “Save Changes” to create your email account. Your new Namecheap email account is now ready.
Accessing Email Settings
Next, you’ll need to find your email settings. In the “Email” section, look for the “Mail Settings” option. Here, you can find the server details required for setting up your email with Gmail. Note down the incoming and outgoing server details.
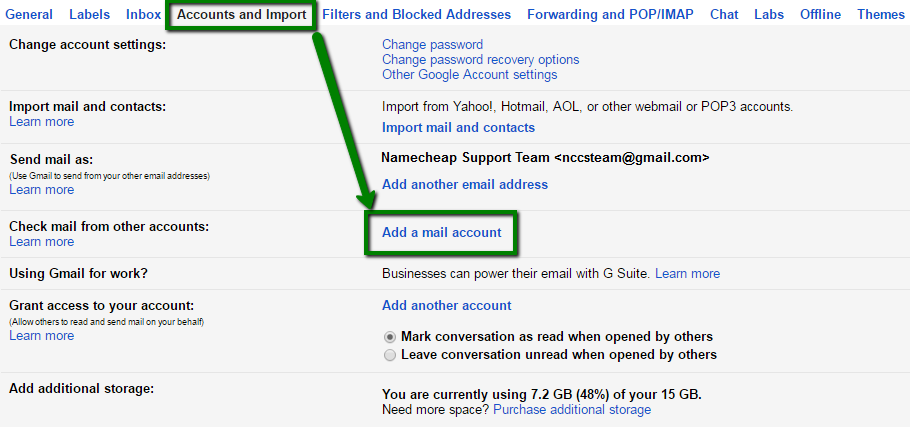
Open your Gmail account and go to “Settings” by clicking the gear icon. Select “See all settings” and then click on the “Accounts and Import” tab. Under “Check mail from other accounts,” click “Add a mail account.” Enter your Namecheap email address and click “Next.”
Select “Import emails from my other account (POP3)” and click “Next.” Enter the required server details you noted earlier. Fill in your Namecheap email address and password. Click “Add Account” to complete the setup.
Now, you can send and receive Namecheap emails directly from your Gmail account. This setup ensures all your emails are in one place, making it easier to manage your communications.
Configuring Gmail To Receive Namecheap Emails
Setting up Gmail to receive your Namecheap emails can simplify your email management. This process ensures all your emails are in one place. Follow these easy steps to configure Gmail to receive emails from your Namecheap account.
Accessing Gmail Settings
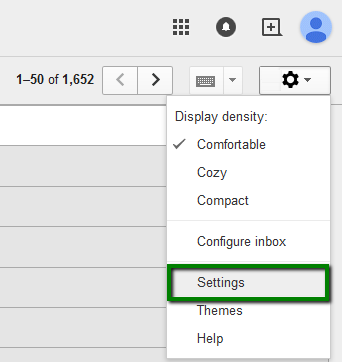
First, log in to your Gmail account. Next, click on the gear icon in the top right corner. Then, select “See all settings” from the dropdown menu. You will now be in the Gmail settings page.
Adding A Mail Account
In the settings page, find and click on the “Accounts and Import” tab. Scroll down until you see “Check mail from other accounts” and click on “Add a mail account”. A new window will pop up.
Enter your Namecheap email address in the provided field. Click “Next” and select “Import emails from my other account (POP3)”. Click “Next” again to proceed.
Enter your full Namecheap email address as the username. Enter your password in the respective field. For the POP Server, use “mail.yourdomain.com”. Ensure the port is set to 995 and check the box for “Always use a secure connection (SSL)”.
Decide if you want to leave a copy of the retrieved message on the server. You can also choose to label incoming messages and archive them. Once you have made your choices, click “Add Account”.
A confirmation message will appear. You have successfully added your Namecheap email to Gmail. All emails sent to your Namecheap email will now be received in your Gmail account.
Configuring Gmail To Send Namecheap Emails
If you want to manage your Namecheap emails through Gmail, you need to configure Gmail to send emails using your Namecheap domain. This section will guide you on how to set up the SMTP server and verify the SMTP configuration for seamless email integration.
Setting Up Smtp Server
To send emails from your Namecheap domain via Gmail, follow these steps:
- Open Gmail and go to Settings by clicking the gear icon.
- Select the Accounts and Import tab.
- Click Add another email address in the Send mail as section.
- Enter your Namecheap email address and click Next Step.
- For the SMTP server, enter
mail.yourdomain.com. - Use port
465or587. - Choose Secured connection using SSL for port
465or TLS for port587. - Enter your Namecheap email account’s username and password.
- Click Add Account.
Verifying Smtp Configuration
After setting up the SMTP server, you must verify the configuration:
- Gmail will send a verification email to your Namecheap email address.
- Open your Namecheap webmail or email client and find the Gmail verification email.
- Click the verification link in the email or enter the confirmation code in Gmail.
- Once verified, return to Gmail and refresh the page.
- Your Namecheap email address should now be listed under Send mail as.
You can now send emails from Gmail using your Namecheap email address. Enjoy seamless communication with your professional domain.
Managing Email Forwarding
Managing Email Forwarding is crucial for keeping your inbox organized. It allows you to direct emails from Namecheap to your Gmail account. This ensures you never miss important messages. Below, we’ll guide you through creating forwarding rules and troubleshooting any issues.
Creating Forwarding Rules
To start with email forwarding, you need to create rules. Follow these steps:
- Log in to your Namecheap account.
- Navigate to the Domain List section.
- Select the domain for which you want to set up forwarding.
- Click on Email Forwarding from the sidebar.
- Click the Add Forwarder button.
- Enter your Namecheap email address in the Forward From field.
- Enter your Gmail address in the Forward To field.
- Save the changes.
That’s it! Your emails will now forward from Namecheap to Gmail.
Troubleshooting Forwarding Issues
Sometimes, forwarding may not work as expected. Here are some common issues and solutions:
| Issue | Solution |
|---|---|
| Emails not arriving in Gmail | Check if the forwarding rule is correctly set up. Ensure you saved changes. |
| Delayed emails | Network issues can cause delays. Wait a few minutes before checking again. |
| Emails marked as spam | Ensure your Gmail filters are not sending Namecheap emails to spam. |
If issues persist, contact Namecheap support for further assistance.

Credit: www.youtube.com
Organizing Emails In Gmail
Keeping your inbox tidy can help you stay focused and efficient. When you integrate Namecheap email with Gmail, you get the power to organize your emails better. Gmail offers many tools to help you manage your Namecheap emails. Let’s explore how to use these tools.
Creating Filters
Filters help you manage emails automatically. You can set up rules for incoming emails. For instance, you can filter emails from specific senders or with certain keywords.
To create a filter, click on the gear icon in Gmail. Select “See all settings”. Go to the “Filters and Blocked Addresses” tab. Click on “Create a new filter”. Enter the criteria for your filter. Click on “Create filter”. Choose what you want Gmail to do with these emails. Click on “Create filter” again to save it.
Labeling Namecheap Emails
Labels are like folders but more flexible. You can apply multiple labels to one email. This helps you find your Namecheap emails quickly.
To create a label, click on the gear icon and select “See all settings”. Go to the “Labels” tab. Scroll down and click on “Create new label”. Name your label and click “Create”. To apply a label, select the email. Click on the label icon at the top. Choose the label you created.
Labeling keeps your Namecheap emails organized. It makes searching for specific emails easier. You can also color-code your labels for better visibility. This helps in quick identification of important emails.
Security Considerations
When using Namecheap email with Gmail, security is crucial. You need to protect your email from unauthorized access and potential threats. Here are some key security considerations to keep your email safe.
Enabling Two-factor Authentication
Two-factor authentication (2FA) adds an extra layer of security. It requires a second form of verification. This can be a code sent to your phone or an authentication app. Enable 2FA on both Namecheap and Gmail. This step ensures only you can access your email.
Go to your Gmail settings. Find the “Security” section and enable 2FA. For Namecheap, log in to your account. Navigate to the “Security” settings and enable 2FA there as well. This makes it harder for hackers to access your accounts.
Recognizing Phishing Attempts
Phishing attempts try to trick you into giving away personal information. They often come as emails that look legitimate. Be cautious of emails asking for sensitive information. Do not click on suspicious links or download attachments from unknown sources.
Check the sender’s email address carefully. Look for any spelling mistakes or unusual domains. Hover over links to see the actual URL before clicking. If unsure, contact the sender through a different method. This helps verify the email’s authenticity.
Common Issues And Solutions
Using Namecheap Email with Gmail is often smooth. Yet, common issues can arise. This section covers those issues and offers solutions.
Authentication Errors
Sometimes, you may face authentication errors. This happens when Gmail cannot verify your Namecheap email account. Ensure that your username and password are correct. Double-check for typos. If the issue persists, reset your password. Use a strong and unique password. Also, check your server settings. They should match those provided by Namecheap.
Email Delivery Problems
Email delivery problems are another common issue. Emails might not arrive in your inbox. First, check your spam folder. Sometimes, legitimate emails end up there. Mark them as “Not Spam”. Next, check your filters. They might be misdirecting emails. Also, ensure your storage is not full. If it is, delete some old emails to free up space. Contact Namecheap support if problems continue. They can help identify and resolve the issue.
Conclusion And Best Practices
Using Namecheap Email with Gmail combines the best of both services. This setup ensures you get reliable hosting and a user-friendly interface. Here are some best practices to keep your email running smoothly.
Regular Maintenance Tips
- Check for Updates: Regularly update both Namecheap and Gmail settings.
- Backup Emails: Schedule regular backups to avoid data loss.
- Monitor Storage: Keep an eye on your storage limits in Gmail.
- Security Settings: Update passwords and enable two-factor authentication.
- Spam Filters: Adjust spam filters to keep your inbox clean.
Optimizing Email Workflow
Efficient email management saves time and reduces stress. Here are tips to optimize your workflow:
- Labels and Filters: Use Gmail labels and filters to organize emails.
- Keyboard Shortcuts: Enable keyboard shortcuts in Gmail for quicker navigation.
- Unsubscribe: Regularly unsubscribe from unwanted newsletters.
- Auto-Responders: Set up auto-responders for common queries.
- Priority Inbox: Use Gmail’s priority inbox to focus on important emails.
These practices will help you maintain a clean and efficient email system. It ensures you make the most of both Namecheap and Gmail services.

Credit: www.youtube.com
Frequently Asked Questions
How Do I Link Namecheap Email To Gmail?
To link Namecheap email to Gmail, go to Gmail settings. Then, add your Namecheap email account under “Accounts and Import”. Follow the prompts to complete the setup.
Can I Use Namecheap Email With Gmail?
Yes, you can use Namecheap email with Gmail. Simply configure your Namecheap email settings within your Gmail account. This allows you to manage your emails efficiently.
Is Namecheap Email Compatible With Gmail?
Yes, Namecheap email is compatible with Gmail. You can integrate your Namecheap email account into Gmail through the settings. This helps you consolidate your email management.
How To Set Up Namecheap Email In Gmail?
To set up Namecheap email in Gmail, go to Gmail settings. Add your Namecheap email under “Accounts and Import” and follow the instructions.
Conclusion
Connecting Namecheap Email with Gmail is simple and efficient. The steps are easy to follow. You can manage all your emails in one place. This integration saves time and boosts productivity. Remember to check settings if issues arise. Enjoy a seamless email experience.
Start integrating today and simplify your communication. Thank you for reading!